A clean engine bay is more than just a «nice to have». It enhances value, makes leaks easier to detect and gives your vehicle that freshly maintained overall appearance you immediately notice. At the same time, engine bay care is a topic that causes hesitation for many: electronics, water, sensitive components – understandably.
That is exactly why you will find a practical how-to guide here, aimed at detailers, vehicle reconditioning professionals and automotive enthusiasts: clear, safe, reproducible – with suitable product recommendations from the Swissvax engine bay range.
Why engine bay care builds trust
Keeping the engine bay clean and evenly protected demonstrates attention to detail. And that detail sells: in conversation, at handover, in photos and at resale. A well-maintained engine bay signals “nothing has been hidden here – real work has been done.”
- Appearance: less dust film, no stained plastics, clean covers.
- Control: oil mist, leaks or brittle hoses are easier to identify.
- Protection: preservation helps protect against moisture, dirt adhesion and surface fading.
Important: We deliberately work gently. No aggressive high-pressure spray directed at connectors – only controlled, safe steps.
The setup: what you should prepare
If everything is within reach, you will work more calmly – and more cleanly.
- Protective gloves, safety glasses if necessary
- Several microfiber cloths, separated for cleaning and finishing
- Soft detailing brushes or small brushes
- Plastic film and tape to cover sensitive areas
- A spray bottle for mixing, for example a Mixing Bottle
- Water for careful rinsing, no aggressive jet action
Product recommendations: Swissvax engine bay products – especially Engine concentrate, Motor Shine and Protecton.
Safety first: 6 rules that prevent problems
- Let the engine cool down. Always work on cool surfaces.
- Ignition off. Sounds obvious, but prevents short-circuit risks.
- Cover sensitive components. Protect ignition coils, distributor areas, spark plug zones and open connectors.
- Use water in a controlled way. No aggressive spray directly onto electronics or connections.
- Less product, more control. Work in stages instead of flooding everything.
- Dry thoroughly. Cloths, compressed air or simply time – everything must be dry before sealing.
Step by step: clean the engine bay like a professional
1) Prepare & cover
Open the hood, assess the level of contamination and cover sensitive areas. Spending a few extra minutes here is insurance for the rest of the process.
Professional tip: temporarily protect adjacent painted and body parts with cloths or film to avoid overspray. This attention to detail separates quick work from professional work.
2) Mix the cleaner correctly with Engine
For safe, controlled engine bay cleaning, use a concentrate diluted according to the level of contamination. Swissvax Engine is suitable for plastics, hoses, cables and electronic components and is mixed using a Mixing Bottle.
- 1:1 for heavily soiled engine bays
- 1:2 for normal contamination
- 1:3 for exhaust residue on exterior painted surfaces
Instructions: Application of Swissvax Engine
3) Spray on, allow to dwell, work in a controlled manner
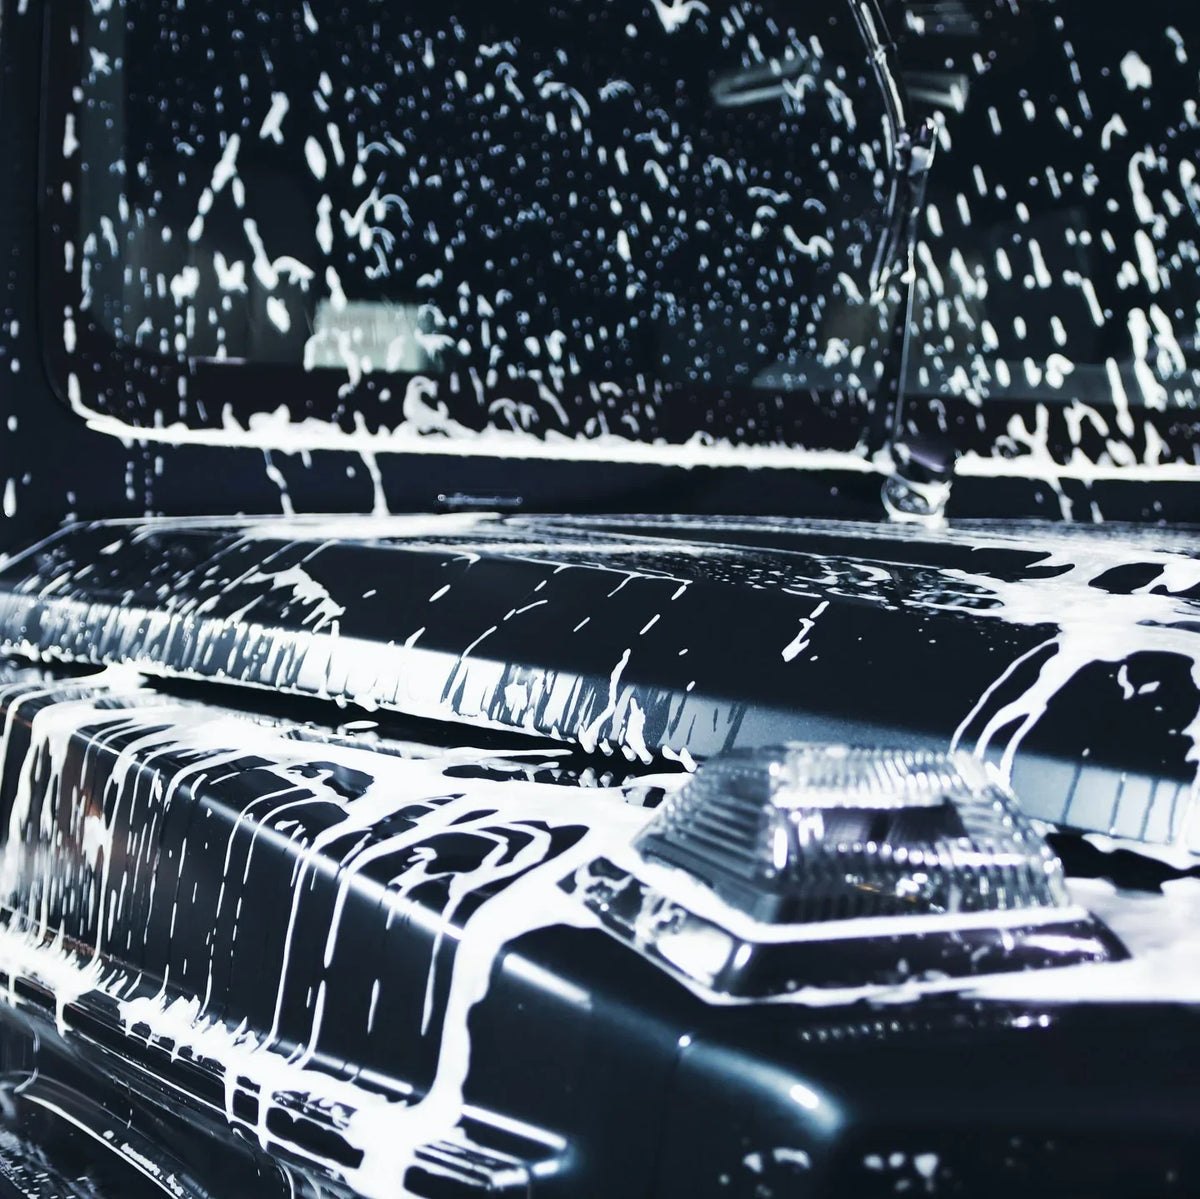
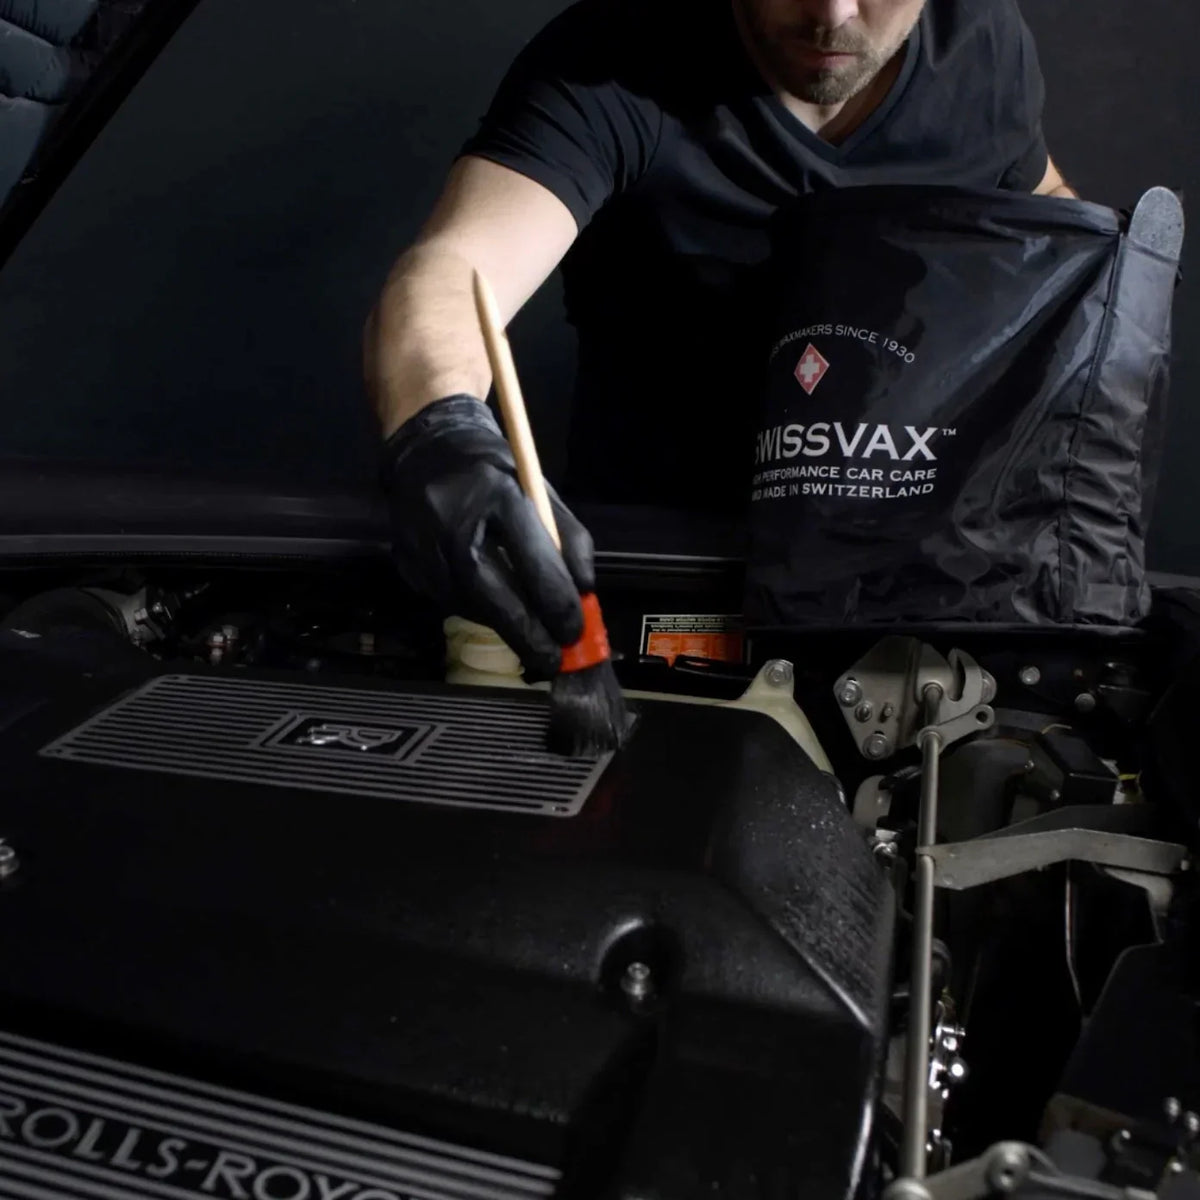
Spray the Engine mixture evenly and allow it to dwell for approximately 3 minutes. Then loosen oil film, soot and deposits with a soft brush – without haste and without force.
If areas begin to dry too quickly, lightly mist again and continue. You control the process.
4) Rinse – gently but thoroughly
Rinse with plenty of clean water, without directing the jet directly at connectors or electronics. The goal is to remove cleaner residue and dirt without creating water buildup in the wiring harness.
5) Dry completely
Remove protective covers, blot remaining water and work into crevices with a cloth or brush. Only when the engine bay is completely dry should you proceed to sealing.
Seal & finish: rich look and protection
Option A: Motor Shine for gloss & protective film
If you want that “like new” moment, Motor Shine provides a uniform gloss film, a refined finish and reduced dust and dirt adhesion in daily use. It acts as an elastic high-gloss engine sealant with protection against moisture, corrosion and salt.
- Ignition remains off and surrounding areas protected if necessary.
- Spray only onto dry, cool surfaces.
- Apply in several thin layers until a homogeneous film forms.
- Allow to dry for 15 to 30 minutes, depending on conditions.
Option B: Protecton for plastic components in the engine bay
Many engine bays look “old” even when clean. The reason: plastics are dried out, stained or greyed. Protecton nourishes plastic surfaces, leaves a silky gloss protective layer and protects against UV radiation. A matt version is also available for interior plastics.
Professional tip: apply sparingly. Excessive product quickly looks oily. Aim for depth and uniformity – not mirror gloss on every clip.
Common mistakes and how to avoid them
- Starting too hot: cleaning warm components causes product to dry too quickly. Solution: allow to cool and work calmly.
- Uncontrolled water use: spraying directly at connectors. Solution: rinse carefully, reduce pressure and maintain distance.
- Too much dressing: the engine bay looks wet. Solution: build up in thin layers and remove excess.
- No separation of cloths: using the same cloth for cleaning and finishing. Solution: keep them separate to avoid reintroducing dirt.
Recommended Swissvax products for your engine bay workflow
- Swissvax Engine concentrate – for controlled, gentle base cleaning. View product
- Motor Shine – for the visible finish moment and protective film. View product
- Protecton – for rich, uniform and well-maintained plastics. View product
You can find all relevant items here: Swissvax engine bay range.